Copper is a captivating and versatile colour in the world of art, prised for its rich, warm, and metallic appearance. Often associated with antiquity, elegance, and warmth, copper can add an extraordinary depth to a painting when used correctly. Whether you are trying to replicate the gleaming glow of a copper kettle or the soft, earthy tones of oxidised copper, understanding how to mix the colours that make up copper is essential for achieving realistic and expressive effects on canvas.
If you’re interested in mastering other vibrant hues, such as maroon, you can explore this easy guide to perfect colour mixing. By understanding the subtleties of pigments and mixing techniques, you’ll elevate your artwork to new heights. Let’s crack open the colourful character of copper and discover how this dynamic shade can unleash a world of creative possibilities.
Understanding Copper: Its Characteristics and Variations
Copper is a metal that, when freshly polished, reveals a reddish-orange gleam. However, over time, it oxidises, turning to a variety of earthy colours, including deep greens and browns, which creates a patina. This gives copper a dynamic and ever-changing colour profile, making it a fascinating subject for artists to replicate.
There are two primary types of copper tones that artists often wish to depict:
- Bright Copper – This version resembles the shiny, reddish-orange surface of newly polished copper. It is a warm, lustrous tone that reflects light beautifully.
- Oxidised Copper – Over time, copper develops a greenish-blue or brownish-grey patina due to exposure to air and moisture. The result is a more subdued, earthy colour that still retains a unique charm.
Basic Colour Theory for Mixing Copper Tones
To create the right shade of copper, you need to blend the correct pigments. Colour theory is essential in understanding how these pigments interact, allowing you to mix a variety of copper-like hues.
Primary Colours: Red, Yellow, and Blue

Copper is a combination of warm tones, primarily reds and yellows. The colour wheel helps artists understand how to mix these colours to achieve various shades, including copper.
- Red – The foundation of copper’s warmth comes from red. It provides the vibrant, rich undertones that mimic the metallic sheen of copper.To deepen your understanding of red’s role in colour mixing, check out this guide to creating red shades.
- Yellow – Yellow complements red, providing the golden hues that can create a deeper, more orange-like copper tone when mixed with red.
- Blue – While not dominant in creating copper, blue can help achieve muted or oxidised versions of copper, especially when mixed with brown or green to mimic the patina effect.
The Pigments That Make Copper: A Breakdown
When it comes to pigments, artists typically use a combination of colours to replicate copper tones. Below are the main pigments you should have on hand when painting copper.
1. Cadmium Red and Cadmium Yellow
These two colours form the base of bright copper. Both are highly pigmented, meaning they will give your copper a vivid and saturated finish.
- Cadmium Red – A deep, rich red that is essential for replicating the bold, reddish tones of copper. This pigment is often used in combination with yellows to achieve that signature warm, metallic look.
- Cadmium Yellow – A deep, warm yellow that, when mixed with cadmium red, creates a stunning copper shade. The warm tones of cadmium yellow add the right golden touch, which is crucial for a realistic copper colour.
2. Alizarin Crimson and Yellow Ochre
For a slightly muted and more traditional copper effect, alizarin crimson and yellow ochre are excellent choices.
- Alizarin Crimson – A rich, deep red with a slightly cooler undertone than cadmium red, alizarin crimson provides a subtle but essential depth when mixing for copper.
- Yellow Ochre – This earthy yellow pigment, with a slight brownish hue, is perfect for toning down the vibrancy of your copper mixture, creating a more muted or rustic copper effect.
3. Burnt Sienna and Venetian Red
For creating oxidised or darker copper tones, a mix of burnt sienna and venetian red can add richness and depth.
- Burnt Sienna – This reddish-brown pigment has a warm, earthy feel that is perfect for the aged, tarnished copper effect.
- Venetian Red – A muted, earthy red that adds subtlety to the composition. It’s excellent for creating the darker, oxidised copper hues.
4. Green and Blue Pigments (For Patina Effect)
If you’re aiming to replicate the look of oxidised copper, a touch of green or blue will help simulate the patina. These colours are essential for depicting the aged or weathered surface of copper.
- Viridian Green – A cool, transparent green that can be mixed with brown or grey to replicate the tarnished copper effect.
- Phthalo Blue – A vibrant blue pigment that, when mixed with the right yellows, creates shades of green that are perfect for the greenish-blue patina on copper.
5. Titanium White and Ivory Black
Both of these colours are used to adjust the lightness and darkness of your copper hues.
- Titanium White – Ideal for lightening up a mixture and adding highlights that can mimic the reflective qualities of copper.
- Ivory Black – A deep, rich black that helps you darken your copper mixtures for creating shadows and adding depth to your artwork.
Techniques for Painting Copper on Canvas
Mastering the technique of painting copper requires patience and an understanding of both colour mixing and application. Here are some tips and techniques that can help you create realistic copper tones on canvas.
1. Layering and Glazing
To achieve depth and luminosity in your copper painting, layering is crucial. Copper has a reflective quality that artists can simulate through the use of thin, transparent layers of paint.
- Start with a base coat of a warm reddish or orange hue (using cadmium red and yellow).
- Once dry, apply a second layer with a darker, more muted copper mixture (such as a combination of venetian red and burnt sienna).
- For added depth, use a glazing technique, applying thin, translucent layers of colour over the dried underpainting.
This layering process will give the painting a glowing, metallic effect and add the necessary richness to your copper hues.
2. Dry Brushing for Highlights
Dry brushing is an excellent technique for adding highlights to your copper painting, simulating the reflective surface of real copper. After applying your base coat, use a dry brush with a small amount of titanium white or light cadmium yellow and gently brush over the raised areas where the light would hit the copper.
This method will give the illusion of light reflecting off the copper surface, enhancing the three-dimensionality of the artwork.
3. Use of Metallic Pigments and Mediums
To achieve a truly metallic effect, some artists incorporate metallic pigments or mediums into their work. These products contain fine metallic particles that reflect light, mimicking the real shine of copper.
You can use these in conjunction with your regular pigments to create a mixed-media piece that has the sheen and texture of actual copper. Be sure to apply these metallic pigments last, as they can dominate a painting if used too early in the process.
Finishing Touches: Creating the Patina
The final step in your copper painting process may involve adding the patina effect to simulate an aged, weathered copper surface. You can achieve this by blending green and blue pigments, such as viridian green and phthalo blue, with a touch of burnt sienna or black.
Apply this mixture sparingly, using a fine brush to create subtle streaks and spots, mimicking the way copper oxidises over time. This will lend authenticity and depth to your artwork, as the contrast between the rich, warm tones of copper and the cool, aged patina will bring a dynamic quality to the piece.
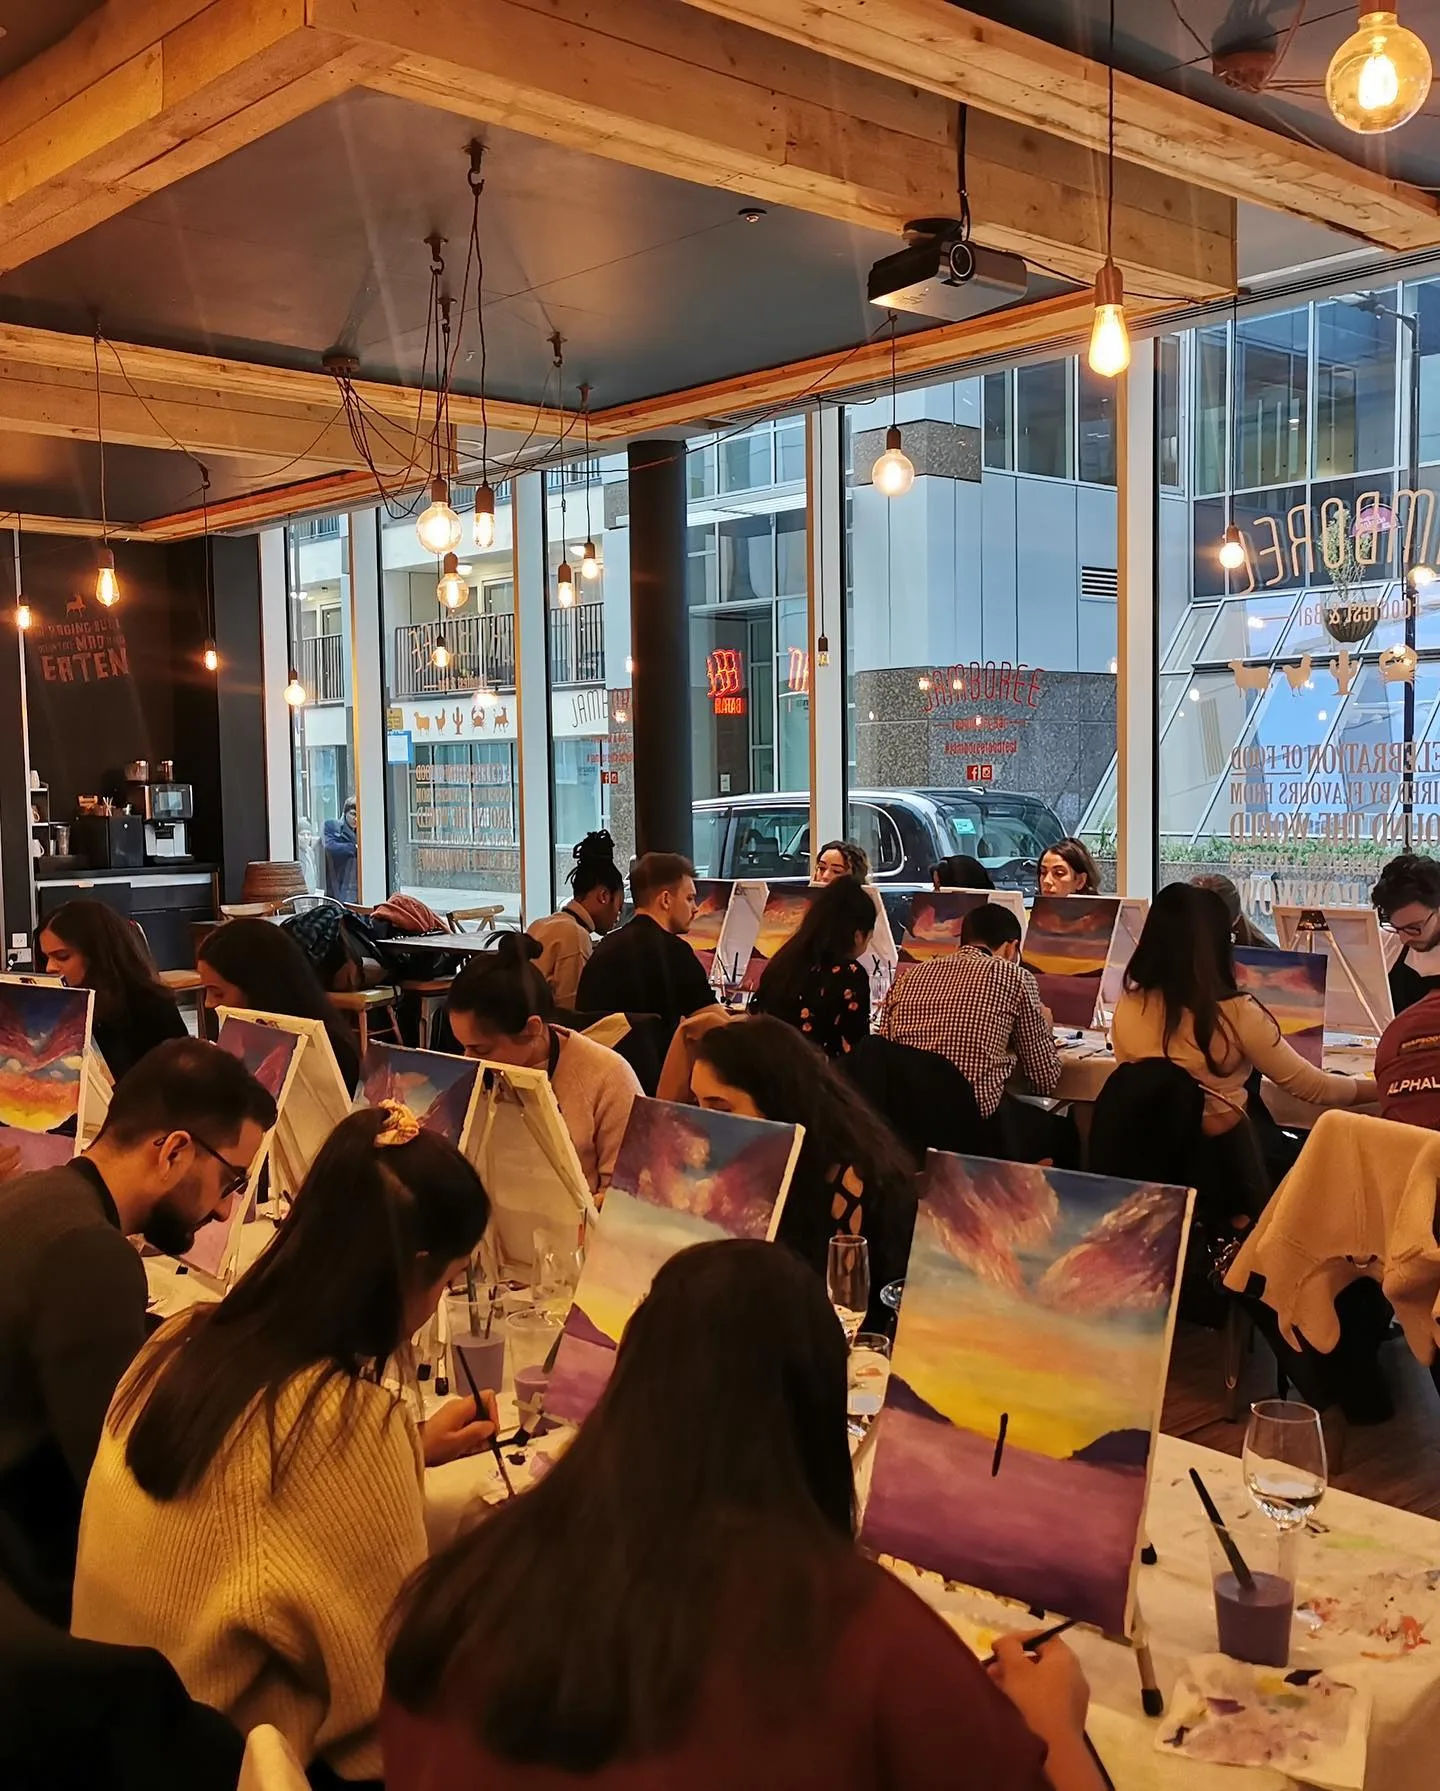
Book Your Painting Session with Prime Pass🎨✨
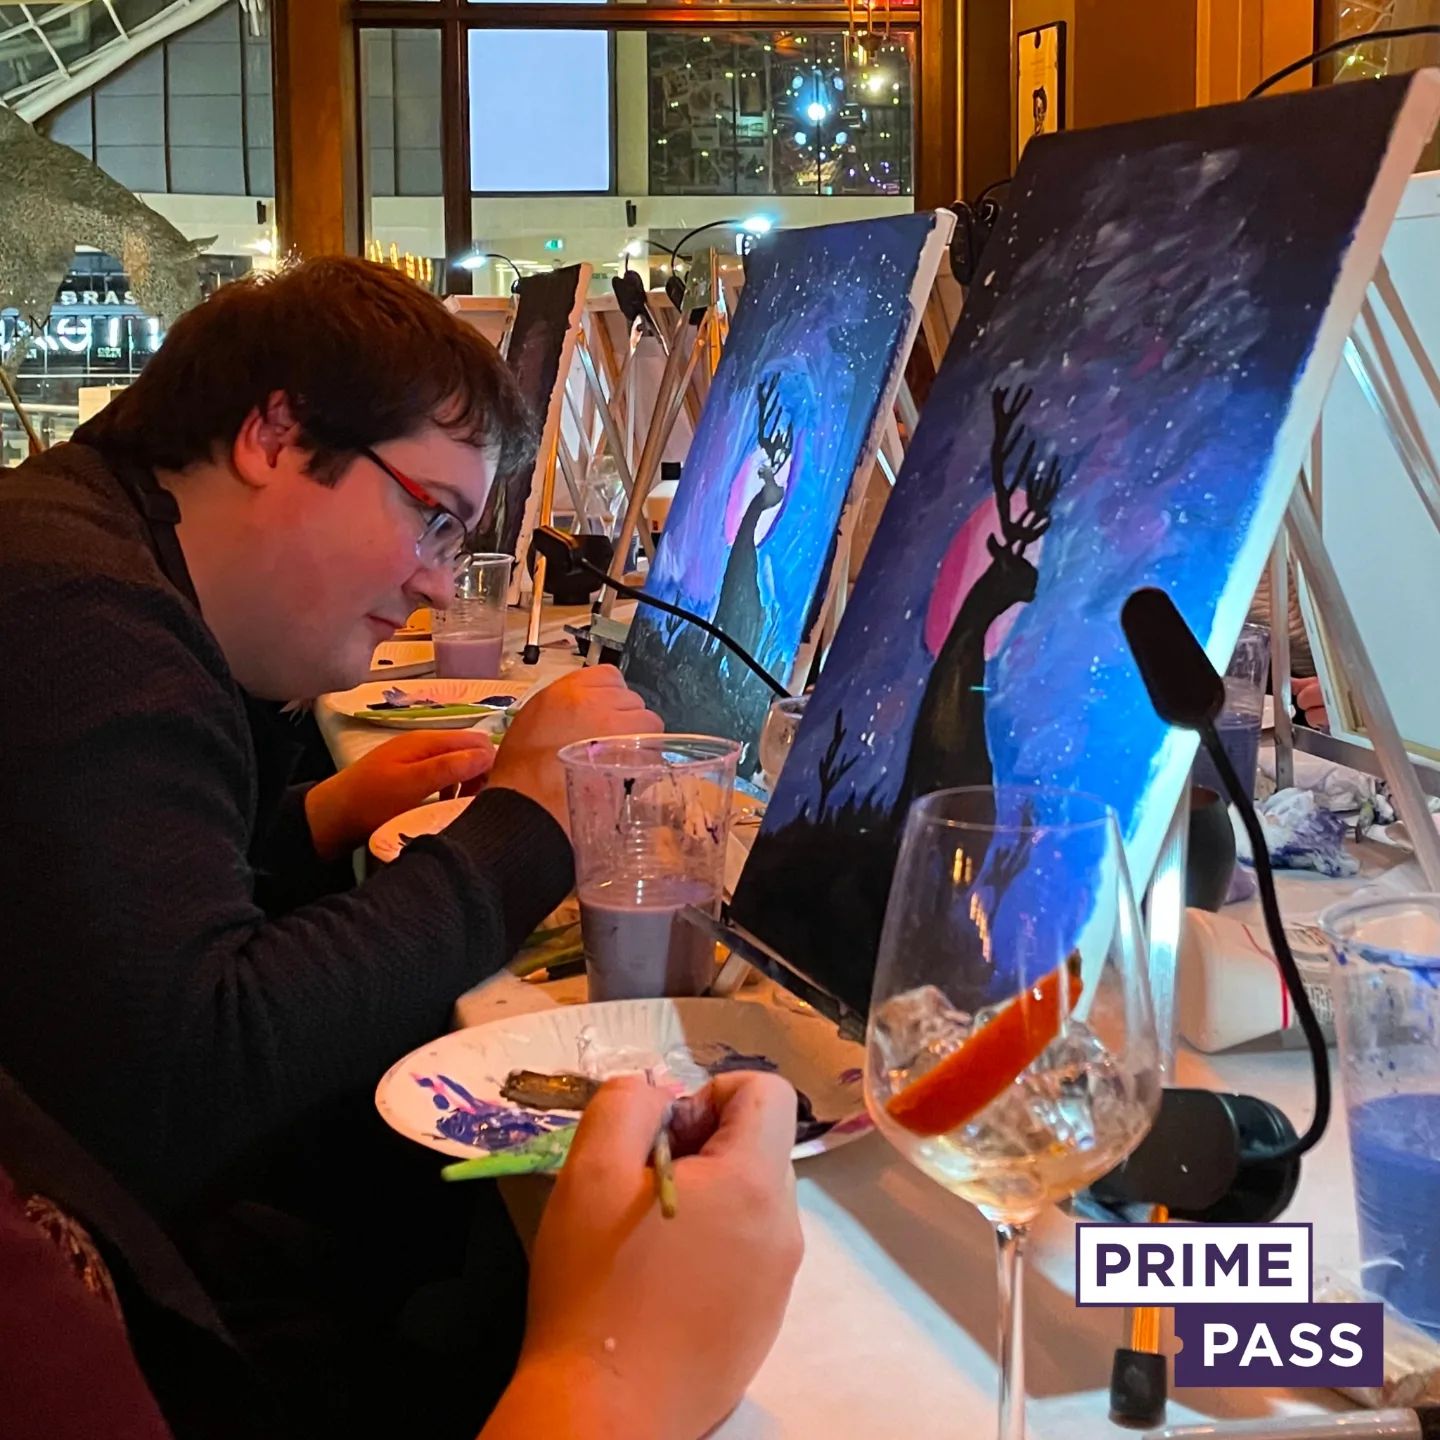
Looking for a fun and relaxing way to unleash your creativity? Prime Pass painting sessions are perfect for artists of all levels, whether you’re a seasoned painter or just starting. With expert guidance, all materials provided, and a welcoming atmosphere, you’ll create your masterpiece while exploring new techniques and letting your imagination flow.
Ideal for solo adventures, date nights, or group outings, these sessions are more than just art—they’re an unforgettable experience. Visit Prime Pass to book your session today and start your artistic journey!